

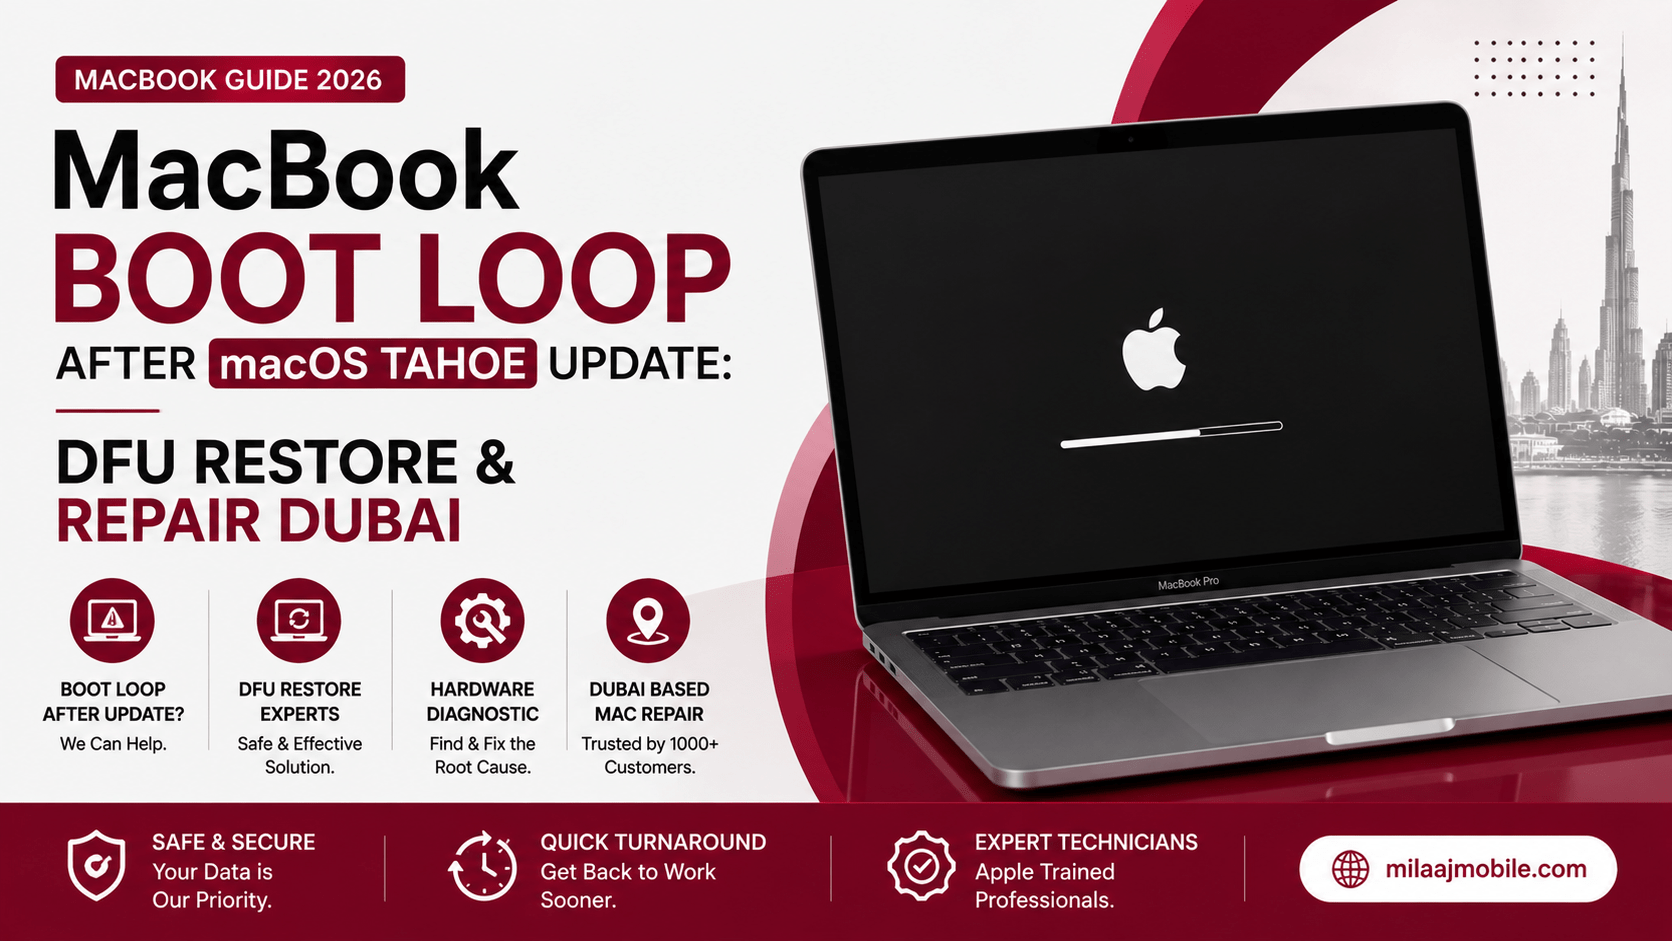
You trigger a routine system software update, grab a quick coffee, and return to your desk expecting the fresh interface of Apple’s operating system. Instead, you find your MacBook trapped in an endless restart sequence. The screen flashes black, the white Apple logo appears with a quick progress bar, and the laptop suddenly shuts down—only to repeat the entire sequence every few seconds.
Dealing with a MacBook boot loop after macOS Tahoe update: DFU restore and repair Dubai situation can feel instantly overwhelming, especially when urgent work files or personal projects sit locked behind a non-booting system.
When major software updates write low-level firmware changes to Apple Silicon (M1, M2, M3, M4, or M5) or T2-secured Intel MacBooks, unexpected power interruptions or corrupted installation packages can corrupt the system bridge controller firmware. When this happens, standard macOS Recovery modes often fail to load entirely.
In this comprehensive guide, we will break down why update boot loops occur, walk you through the essential step-by-step DFU (Device Firmware Update) Revive and Restore process, and explain when to seek specialized hardware repair across Dubai.
Why macOS Major Updates Cause Infinite Boot Loops
To understand how to recover your MacBook, it helps to examine what occurs beneath the surface during a major operating system update.
BridgeOS and iBoot Corruption
Modern MacBooks rely on dedicated security architecture—the T2 security chip on older Intel models or integrated Secure Enclave coprocessors inside Apple Silicon chips. During the software installation, the update rewrites critical low-level firmware (BridgeOS or iBoot) before updating user system files.
If your Wi-Fi drops, your battery drains, or storage runs out during this sensitive writing phase, the security chip cannot verify the bootloader signature. Consequently, it halts initialization and triggers a reboot cycle as a protective measure.
Incompatible System Extensions and Storage Overflows
Upgrading directly to a major new software version with limited free disk space can also corrupt system caches. When internal storage fills to 100% capacity mid-installation, the installer cannot uncompress crucial recovery images, trapping the machine in a partial installation state.
Step 1: Preliminary DIY Recovery Attempts
Before jumping into advanced DFU procedures, attempt these initial troubleshooting steps to rule out minor hardware conflicts
Disconnect All Peripherals
Unplug all external accessories, including USB hubs, external SSDs, second monitors, and charging docks. Faulty thunderbolt docks or third-party adapters can feedback voltage or interfere with internal USB-C controller negotiation during boot-up.
Try Forced Safe Mode
For Apple Silicon MacBooks (M1 through M5 series):
- Press and hold the power/Touch ID button for 10 seconds to force a complete shut down.
- Wait 10 seconds, then press and hold the power button again until you see “Loading startup options” on screen.
- Select your primary system volume (Macintosh HD), hold down the Shift key, and click “Continue in Safe Mode.”
If your laptop boots into Safe Mode, clear out old third-party extensions or free up internal storage before attempting a normal restart.
Step 2: Understanding DFU Mode (Revive vs. Restore)
When standard macOS Recovery (Command + R or Startup Options) will not launch, Device Firmware Update (DFU) mode serves as the ultimate software recovery mechanism. DFU mode bypasses the corrupted operating system entirely, allowing a secondary computer running Apple Configurator or Finder to reload the security chip firmware directly.
  REPAIR PATH A: DFU REVIVE (Data-Preserving Option)
  [Firmware Flash] --> Flashes BridgeOS/iBoot while keeping user drive intact.
  [Outcome]        --> Fixes startup files; personal data remains safe.

  REPAIR PATH B: DFU RESTORE (Complete Factory Reset)
  [Complete Wipe]  --> Formats storage drive and reinstalls fresh macOS.
  [Outcome]        --> Returns MacBook to factory state; wipes user data.
DFU Revive (First Choice)
A DFU Revive reloads the internal firmware on the T2 chip or Apple Silicon coprocessor without touching your internal storage drive. It repairs broken startup code while preserving your photos, documents, and user profiles intact.
DFU Restore (Last Resort)
A DFU Restore flashes the underlying firmware and completely erases the internal SSD drive. It installs a fresh factory copy of the operating system. Use this option only if a Revive fails or if internal drive partitions are severely corrupted.
How to Perform a DFU Restore (Hardware Setup)
Executing a DFU recovery requires specific hardware tools:
- Connect the Cables: Plug your charging cable into a power outlet. Connect the genuine Apple USB-C data cable between the host Mac and the specific DFU-capable USB-C port on the non-booting target MacBook (typically the rear-left port on Pro models).
- Launch Apple Configurator: Open Apple Configurator or Finder on the functional host Mac.
- Trigger DFU Mode Key Combination: Turn off the target MacBook completely. Press and hold: Right Shift + Left Option + Left Control + Power Button for exactly 10 seconds. Release the three modifier keys while continuing to hold the Power Button until a square “DFU” icon appears inside the Apple Configurator window on the host Mac.
- Select Revive or Restore: Right-click the DFU square icon in Apple Configurator, select Advanced > Revive Device, and follow the on-screen prompts.
Technical Comparison: DIY Recovery vs. Professional Repair
| Recovery Attribute | DIY Safe Mode / Recovery | DIY DFU Flashing | Professional Repair Center |
| Success Rate on Firmware Loops | Low (Requires working recovery) | Moderate (Requires second Mac & cable) | High (Specialized hardware flashing) |
| Data Preservation | High (Keeps internal files) | High with Revive / Zero with Restore | Targeted chip-level data recovery options |
| Risk of Total Data Loss | Very Low | Moderate (Accidental Restore click) | Very Low (Isolated backup procedures) |
| Turnaround Time | 1–2 Hours | 2–4 Hours | Same-Day Service |
Why Choose Milaaj Mobile and Laptop Repair Al Barsha?
If you lack a second host Mac, do not have the specialized cables, or feel uncomfortable performing low-level firmware flashes on your own, calling a professional repair service is the safest choice. For expert Apple diagnostic solutions, Milaaj mobile and laptop repair Al Barsha provides dedicated hardware and firmware recovery options designed to save you time and protect your data.
Low Price Guarantee with Clear Diagnostics
We believe in practical, transparent service pricing. Our technical team conducts thorough hardware diagnostics before starting work, ensuring you receive clear pricing options without hidden fees.
Express Speed Repairing
We know your laptop is central to your work, studies, and business tasks in Dubai. With our express speed repairing workflow, our team resolves software boot loops, DFU firmware crashes, and logic board issues quickly—often completing repairs on the exact same day.
Unmatched Convenience Across Dubai
Located conveniently in Al Barsha near Mall of the Emirates, our repair workshop is easily accessible. If you cannot drop off your device yourself, our free doorstep pickup and delivery service collects your MacBook directly from your home or office anywhere in Dubai and returns it fully restored.
Top Part Quality & Warranty Coverage
If your update boot loop stems from underlying hardware failure such as a degraded power management IC (PMIC) or faulty internal NAND storage we install high-grade, OEM-certified replacement components backed by a complete repair warranty.
Preventive Measures to Stop Future Update Boot Loops
Avoid unexpected startup failures on future macOS releases by adopting these basic maintenance habits:
- Maintain Adequate Free Storage: Always keep at least 30 GB to 40 GB of free internal SSD space before starting major operating system upgrades.
- Connect to Reliable AC Power: Never initiate a system update while running on battery power alone. Always plug in your official Apple power adapter.
- Avoid Unstable Wi-Fi Connections: Use stable, high-speed internet connections when downloading update payloads to prevent installer file corruption.
- Maintain Regular Time Machine Backups: Connect an external drive or use cloud backups regularly so your files stay protected even if a future update stalls.
Frequently Asked Questions (FAQs)
Will a DFU Revive delete my personal files?
No. A DFU Revive updates the firmware on the security coprocessor and system bridge while leaving your internal storage drive untouched. Only a DFU Restore erases your data completely.
Why won’t my MacBook enter DFU mode?
Entering DFU mode requires precise key timing and the correct USB-C port. You must also use a USB-C cable capable of transferring data, not a basic power-only charging cord.
Can a corrupted macOS update physically damage my logic board?
While software updates rarely ruin physical circuits, an update can reveal pre-existing hardware flaws—such as failing power controller chips or degraded NAND storage—causing the machine to fail during high-stress firmware writes.
How long does a professional DFU restore take at a repair center?
A professional service center can perform diagnostic checks, execute a low-level DFU firmware revive, and verify system stability within 1 to 3 hours.
Final Thoughts: Restoring Your MacBook to Working Order
Experiencing a MacBook boot loop after macOS Tahoe update: DFU restore and repair Dubai issue can disrupt your routine, but it does not mean your machine is ruined. By starting with safe DIY forced restarts, utilizing Apple Configurator for DFU firmware revives, or trusting local hardware specialists for advanced repairs, you can resolve startup loops and get back to work smoothly.
If your MacBook remains stuck on a black screen or apple logo loop, contact a trusted technician today to restore your laptop safely!
Other Services:
- Need other AirPods repairs? Check out Milaaj’s macbook repair services in Dubai.
- Looking to upgrade? Learn about selling your used device in Dubai.
- For Apple users, check Apple trade-in options in Dubai.
📍 Visit Any Milaaj Branch in Dubai
🔹 Bur Dubai
Milaaj Mobile and Laptop Repair Dubai
📞 055 258 8477
🔗 Google Maps
🔹 Al Barsha
Milaaj Mobiles and Laptop Repair Al Barsha
📞 052 596 2846
🔗 Google Maps
🔹 Al Barsha 3
Milaaj Mobiles and Gaming Store
📞 052 3405 814
🔗 Google Maps
🔹 Al Nuaimiya
Milaaj Mobiles and Laptops Ajman
📞 055 788 9654
🔗 Google Maps
Shop Locations: Al Barsha | Bur Dubai | Reef Mall, Salah Al Din | Al Nuaimiya, Ajman
Email: support@milaaj.com
Operating Hours: Monday – Sunday
Leave a Reply